Thursday In the Studio–The Final Stages…

Several years ago, I found the books of author Joan Anderson. She described her life transition as her sons graduated from high school, she faced an empty nest, and her husband announced a new move. Not wanting to relocate again, she took a year to stay alone at her family’s beach house on Cape Cod. During this time, she met ninety year old Joan Erikson, wife of psychoanalysis Erik Erikson, on a walk on the beach. Together they made weavings on hand looms, using colored yarn to represent each stage of life they had lived. (See Wisdom and the Senses by Joan Erikson.)

I have played with these ideas for several years while studying human development. In Lifeweaving #3 , my interest in art and life transitions are merged. The final strips–silver and gold–representing the 8th and 9th stages of life are finally woven.

Final Life Stages

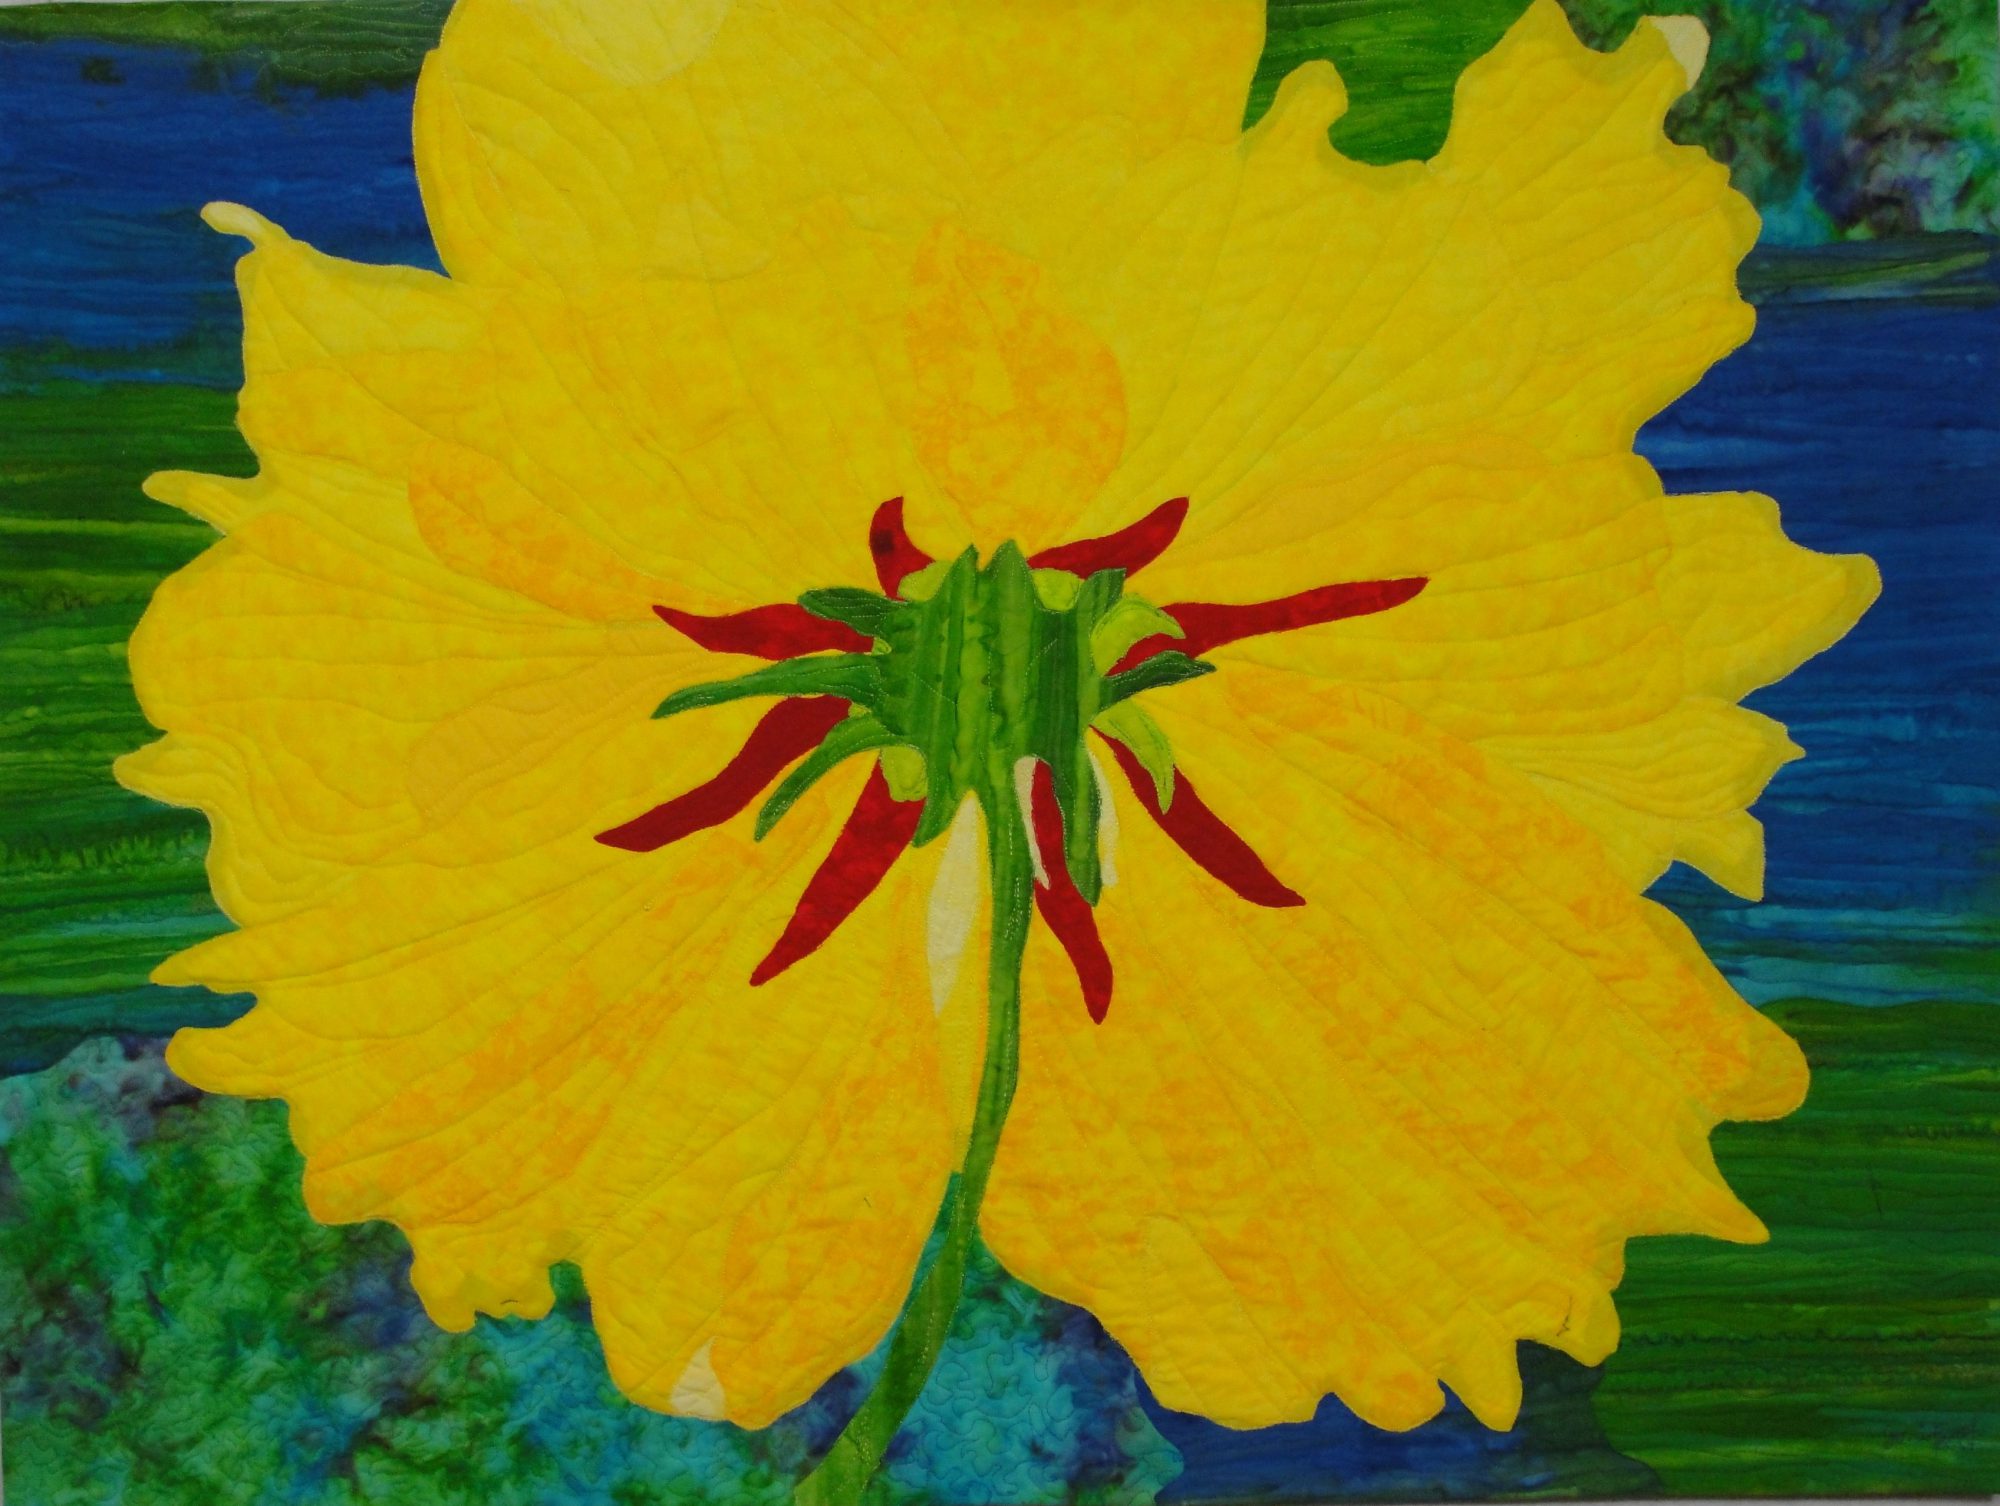
My next step will be to layer the top with a batting and backing-basting the woven strips in place and quilting to add more texture to the design.

After designing and beginning this piece, I found an interesting book, Plaited Patchwork by Shari Cole, in our local library. Shari describes her method of weaving fabric to make quilts that was based on the Pacific Islanders’ plaiting techniques for making woven mats. Interestingly, her method is very similar to what I was already doing for Lifeweavings #3.

While weaving the fabric strips, I wrote in a journal as I focused on each stage of life–What were the strengths I gained at that time? What experiences contributed positively to my development and creativity? What artistic designs, motifs, and techniques have been gathered over the years? I will use these writings as part of a workshop and book on our life’s creative journey…

So as this part of my project is finished, the quilting will begin…                                                                                                                   I will keep you posted on my progress–                                                                                                                                  that is…my lifeweaving!

Life Is a Mystery…

Life is a Mystery…                                                                                                                                        We only have one time on earth to live and to…

Daylily

DO–activities, hobbies, work, and service;

Be–who we are, what we can be, and our spiritual self;

Experience–sights, tastes, smells, touch, sounds, and movement;

Love–self, family, and others…

Life is a Mystery…                                                                                                                                        May we live, do, be, experience, and love to make the most of our time–                                                                                                                                                                   Today!

Tuesday…In the Studio

At the first of the week I wrote about a new beginning for the new week…part of the plan was to begin new artwork in the studio. And on Monday I did! This photo of the bottom side of a flower that I photographed  in a garden a few weeks ago has intrigued me–the vibrant yellow, red, and green colors, as well as its line and shape.

Summer Flower, © 2011 Joni Beach

In a college art class I experimented with Photoshop, editing a photo and making a resulting sketch from it, but I have not taken the time to do the same in making an art quilt. I have decided this is a perfect technique for a wall hanging using this photo as inspiration.

Since I do not have Photoshop on my computer, I tried its more simple Paint feature. After downloading the photo, the brush was used to outline the main lines in black.

Image Outlined

Dotted lines were used to remind me of shadows, variations, and underlying petals.

Yellow Flower Outlined


Image Printout

Image Printout


This image was then printed out onto several sheets of paper as large as I could get it using this software…                                                                                                                             

  Hopefully, I will be able to get a bigger image with the poster setting on my printer. While this is not a new technique, it is not one I have used with my equipment. As with any creative process and new art project, experimenting and improvising is necessary–of course this is also the fun part!

Laying out the sheets of paper, trimming, and taping them together will give me a pattern from which to copy pieces, cut out fabrics,  and construct the wall hanging. That will be phase 2 of this project!

Image Layout

But for now, I think it is time to go sit in the hammock and brainstorm some more…                                                                                                                                                             🙂                                                    

**What is your new beginning this week?

(I’d love for you to Leave a Comment below!)**